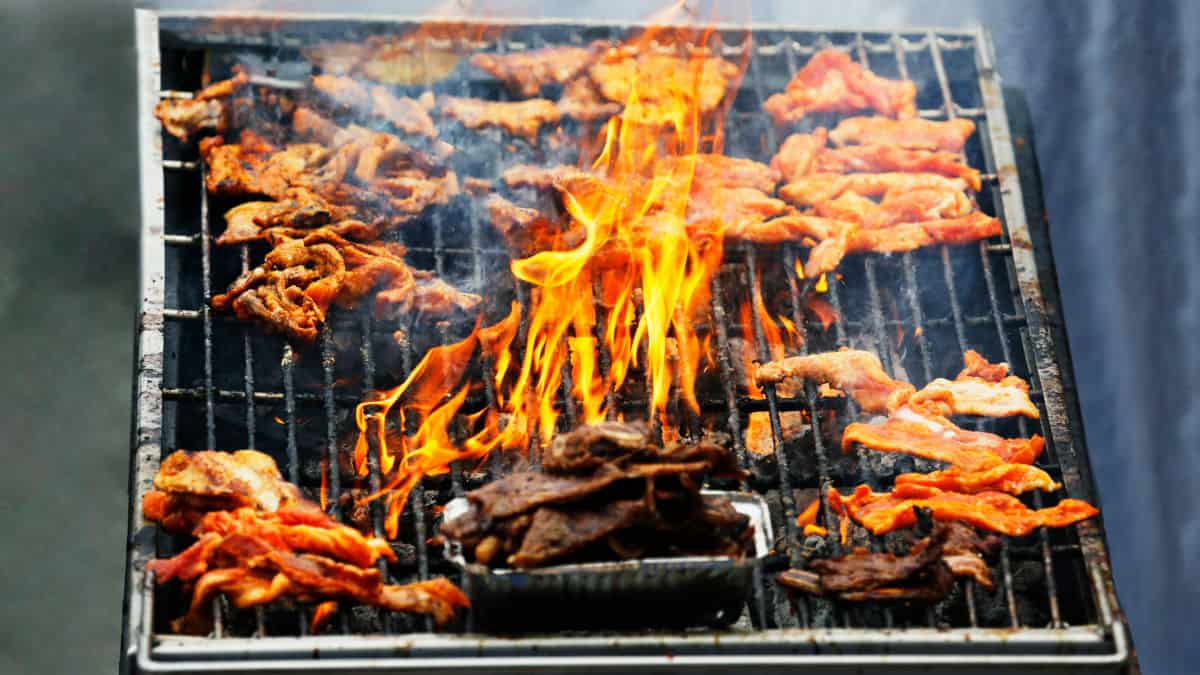
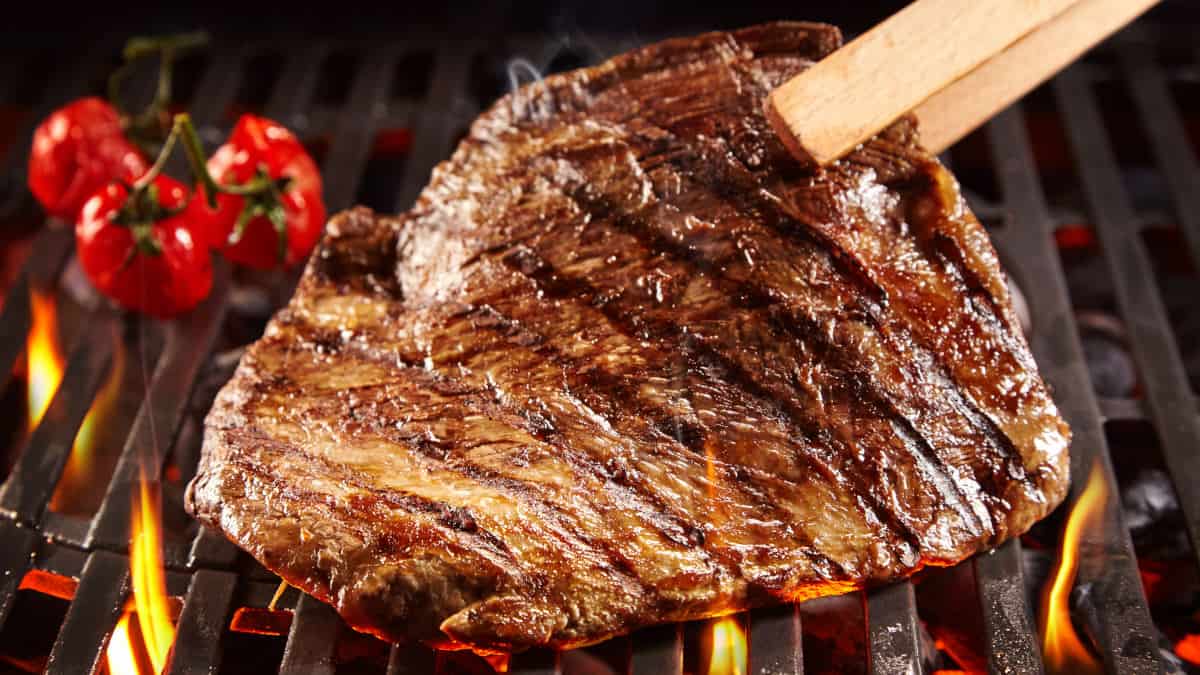
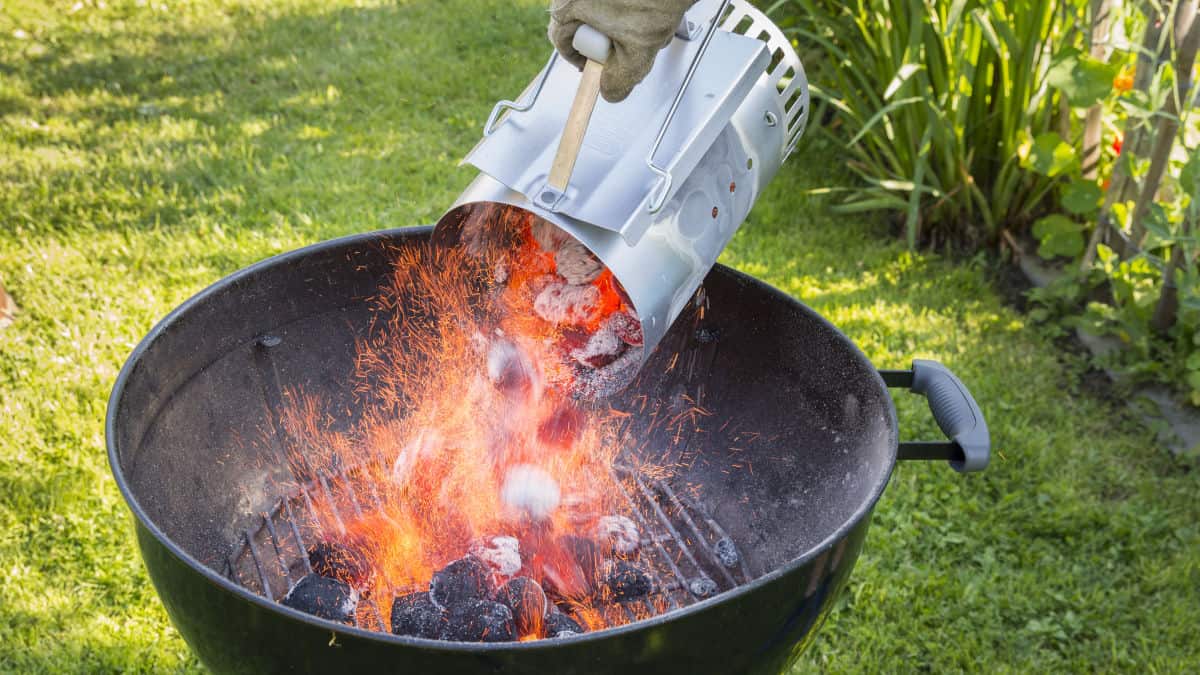
Now that it’s grilling season, we gas grillers will have one thing that we need to look out for: grilling flare-ups.
Grilling flare-ups happen for a wide variety of reasons, but they usually consist of a burst of flame coming from the burners when you’re cooking meat.
Flare-ups can be pretty scary, especially when you’re just focused on producing the best barbecued food possible, but it’s quite easy to deal with and even prevent them if you know what you’re doing.
So what is it that causes propane grill flare-ups?
Well, the primary cause is a lack of grill upkeep. Grill flame tamers (aka flavorizer bars) are designed to reduce the amount of fat and grease that reaches the heating elements, but sometimes we don’t maintain these properly and flare-ups can happen.
I’ve had them happen before, and if you’ve done a lot of grilling, you’ve probably experienced them as well.
This is why, in this guide, I’m going to show you how to prevent and deal with grilling flare-ups so that you can have a great grilling season.
What You’ll Need to Prevent Grilling Flare-Ups
Before we get started, let’s take a look at some of the items that you’ll need in order to prevent and deal with these flare-ups.
These items are used in the cleaning of your grill, which should be your primary method of reducing your chance of a grilling flare-up.
When it comes to preventative maintenance, keeping your heat shield, which are also known as flame tamers, clean is really the best line of defense against the flare-up, so here is what you’ll need to do a full preventative cleanup:
- A Cloth
- Some grease-cutting dishwashing liquid
- A bucket of water
- A grill cleaning wire brush and scraper
- Some rubber dishwashing gloves
- A garden hose
Step by Step: Preventing Grilling Flare-Ups by Maintaining Your Flame Tamers
The flame tamer is at once the main item that prevents flare ups and also the leading cause of them.
This is because when they block grease, grease can also accumulate on them, which is why they’ll need to be maintained. Here’s how to do it:
Step One: Eyeball the Flame Tamers
The first thing you should do is visually ascertain whether or not your flame tamers have accumulated a lot of excess grease and debris.
Over time, if we’re not cleaning them regularly, flame tamers can really get caked with material, so it’s important to get an idea how much has accumulated before we get started with the maintenance process.
If you notice only a little bit of buildup, you can simply preheat your grill to burn off the excess.
Step Two: Flame Tamer Removal and Examination
If you see a lot of grease and buildup on the surface of the flame tamers, then you’re going to have to get down and dirty.
Remove the flame tamers from the grill body. To do this, you’ll need to pull up the grill grates one at a time, and then remove the grill flame tamers. If you notice a lot of the same buildup on your grill grates, clean them in the same way that you clean the tamers.
At this point, it’s a great idea to look at the top and bottom surfaces of the tamers in order to see if there’s unseen grease or if rust holes or damage that has happened on the surface.
Rust is amazing at holding in grease, which will definitely cause a grilling flare-up, so it’s important to identify it if there’s any.
If there’s a lot of rust or the flame tamers have physical damage, it’s time to replace the flame tamer. If it’s just coated in grease and food residue, then you can move on to the next step.
Step Three: It’s Time to Get Scraping
So, you’ve discovered that your grill is pretty dirty, eh?
Well, in this case, it’s time to get your flame tamers and grill grates nice and clean so that you can grill without fear of grilling flare-ups.
Before you get started, I recommend using some rubber dishwasher gloves; I find that they protect my hands from any jagged edges that may be caused by rust or accumulated residue.
Using a barbecue scraper, scrape off the larger chunks of accumulated food, grease, and fat from both sides of each flame tamer. You’re not going to get everything, so just do your best to just manage the larger material.
Once the larger stuff has been removed, switch to your grill brush so that you can wear away the excess residue that may be left over. I prefer wire brushes for this since they seem to really get the material.
I need you to get in there and clean out all those little bits of hamburger and grease. Courtesy of: Miramax Films
Step Four: The Washing Process
Now, it’s time to really get the grill flame tamers clean. Grab a large bucket that’s wide enough to accommodate the flame tamers and fill it with water.
Next, add in about three tablespoons of grease-cutting dishwasher liquid to the water to make a mildly soapy solution. Personally, to get the final layer of grease nice and loose, I soak the flame tamers for about five minutes or so.
Next, using a cloth, scrub around the entire body of the flame tamer. Once you’re done with this part, your flame tamer should have no evidence of grease or grill buildup on its body, which means that it’s almost ready for the grilling.
Step Five: Rinse and Dry
Next, using a garden hose, run cold water over the surface of the flame tamer for a few seconds.
This way, you can be sure to remove any soap residue and leftover suds. Once this is complete, use a dry cloth to ensure that there is no excess water or soap left on the surface of the tamer.
Step Six: Put Your Grill Back Together
Now that your tamers are scraped, washed, rinsed, and dried, it’s time to reinstall them into your propane grill. Simply place them on their fittings and replace the grill grates back on top of the grill itself and you’re done.
Check out Sears PartsDirect’s video on preventing and dealing with flare-ups below:
Prevention Alternatives
Additionally, you can prevent grilling flare-ups by also cutting down the fat content of the foods that you’re preparing. Fattier foods like sausage are foods that you can’t easily cut down the fat and grease content from, but things like pork chops, ribs, and tenderloins are easily manageable.
Using a knife, simply trim away the thickest portions of the fat; this will keep these fattier sections from melting and falling onto the flame tamers of your grill. Additionally, avoid over-oiling your food; I know some foods like potatoes and other veggies can use a little extra oil to cook nicely, but having an excess of oil can invite a flare-up.
You can even avoid flare-ups through positioning. To do this, I simply avoid wind because breezes can blow the drippings from your food onto the heating elements of your grill, so when the wind kicks up, I use the wheels on my grill to position the grill in such a way that the wind is blocked.
What You’ll Need to Deal With Flare-Ups
Well, it’s happened. Your grill has flared up and now you’re dealing with a small fire. When this happens, you have several potential options that can douse the fire or simply cut its ignition source. In this next section, I’ll list some options that you can use to help deal with any flare-ups that occur during grilling season. Here’s what you’ll need:
Step by Step: Dealing with Flare-Ups and What to Avoid
Despite all your efforts to prevent a flare-up, it seems to happen anyway. Never fear, you can deal with flare-ups relatively easily if you follow these instructions.
Before we get started, I have to tell you: never use water to deal with a flare-up. Water will just move the burning grease around and that means that the flame will move with the water, which can cause injury.
Additionally, spraying water on burning grease can cause it to explode, so keep the water away from the grill.
Check out The Slow Mo Guys’ video below to see what happens when you pour water on a grease fire.
Step One: Try to Manage the Flare-up by Moving the Food
Before we try to extinguish the fire itself, see if you can get control of it by moving the food from over the heating element and flame tamer. I typically use a burner at a time and reserve a section of the grill for just this purpose.
It also helps to give the fattier foods a place to heat up when they’ve reached a good core temperature.
Moving the food to another burner that is either off or on a low setting will effectively cut the source of the flare up. It’s very important to be very careful with this; I use grill tongs and an oven mitt to protect my hands from the high temperatures.
If this is done correctly, you’ll starve the flare-up and your burners will burn away the excess grease that’s left over and you can go back to grilling normally.
Step Two: Turn off the Burners
If the flare-up is reaching dangerous levels, try to cut the ignition source; turn the burners of your grill off and let the flare-up burn out by itself.
This is a very simple solution that can save your grill from becoming damaged as a result of the flare up.
Step Three: Try to Close the Lid
This is another solution that is fairly simple but may cause a bit of charring on the inside of your grill lid.
Making sure to protect your hands from the heat using your mitts, simply close the lid over the flare-up. This will effectively cut the source of oxygen so that the fire starves.
This is known as the cover-and-wait method, and the way that you keep track of the flare-up once the grill is covered is by peeking periodically through the air vents.
Step Four: Extinguish It
Is the flare-up still going strong?
If that’s the case, then it’s time to attempt to extinguish the flame. This is only for relatively smaller flare-ups, if the flame seems to be getting out of control, then it might be time to get the fire department involved.
As I mentioned previously, water is a no-go but if you don’t have a CO2 fire extinguisher, then for a smaller flare-up, you can use baking soda to extinguish a grease fire.
Assuming that you do have a CO2 fire extinguisher, aim the device at the center of the flare-up’s source, which will most likely be the burners. This should work to smother the fire so that it can’t get any oxygen to continue burning.
Unfortunately, once you’ve done this, you’ll have to manually clean your burners, your flame tamers, and your grill grates before you can grill again in the future.
Zippyangeles Productions has a good video on how to use a C02 fire extinguisher below:
Wrapping it Up
Did you enjoy my guide on how to prevent and deal with grilling flare-ups?
It’s very important to understand that grilling flare-ups can happen even in the most ideal of circumstances, but if you’re not doing the preventative steps, they are much more likely to happen.
Remember, there are important steps to take that can reduce the chance of a flare-up, so here are some best practices:
- Never Keep Oil Around the Grill
- Keep a fire extinguisher handy during grill season
- Never use water to put out a flare-up
- Trim the fat on fattier cuts of meat
- Be ready to move your meats out of the flare-ups
- Keep an eagle-eye on the grill
- Move the grill when needed
- Keep your grill clean to prevent flare-ups
If you have any questions, or you’d like to comment on my guide, leave a comment below.
If you think my guide will help some of your friends have a much safer, reduced-flare-up grilling season, or you just plain liked the guide, then please feel free to share it.


